01
Studio workflow direction 1
Illustrative board form and use context.
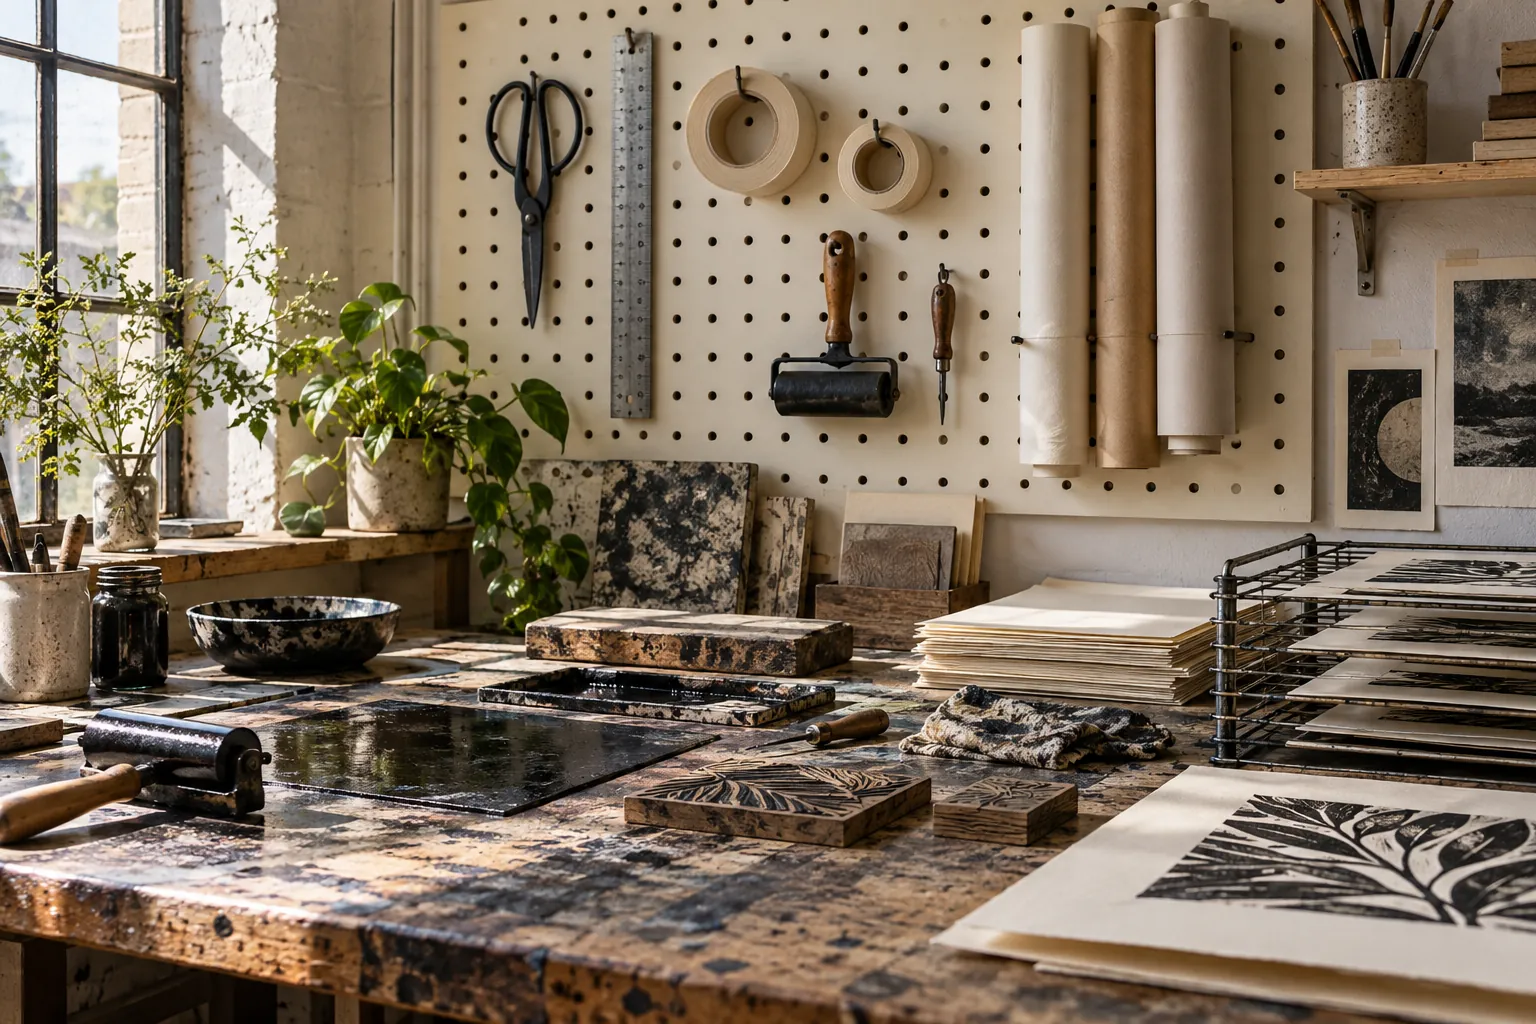
All spacesStudio workflow
Space 06
Materials, references and tools can remain visible enough to use without turning the studio into visual noise.
A space-led starting point
Organize around the movement from idea to making.
Keep current materials, samples and tools ready for the next step.
Make space for a working wall that can change with each project.
Explore the visual direction
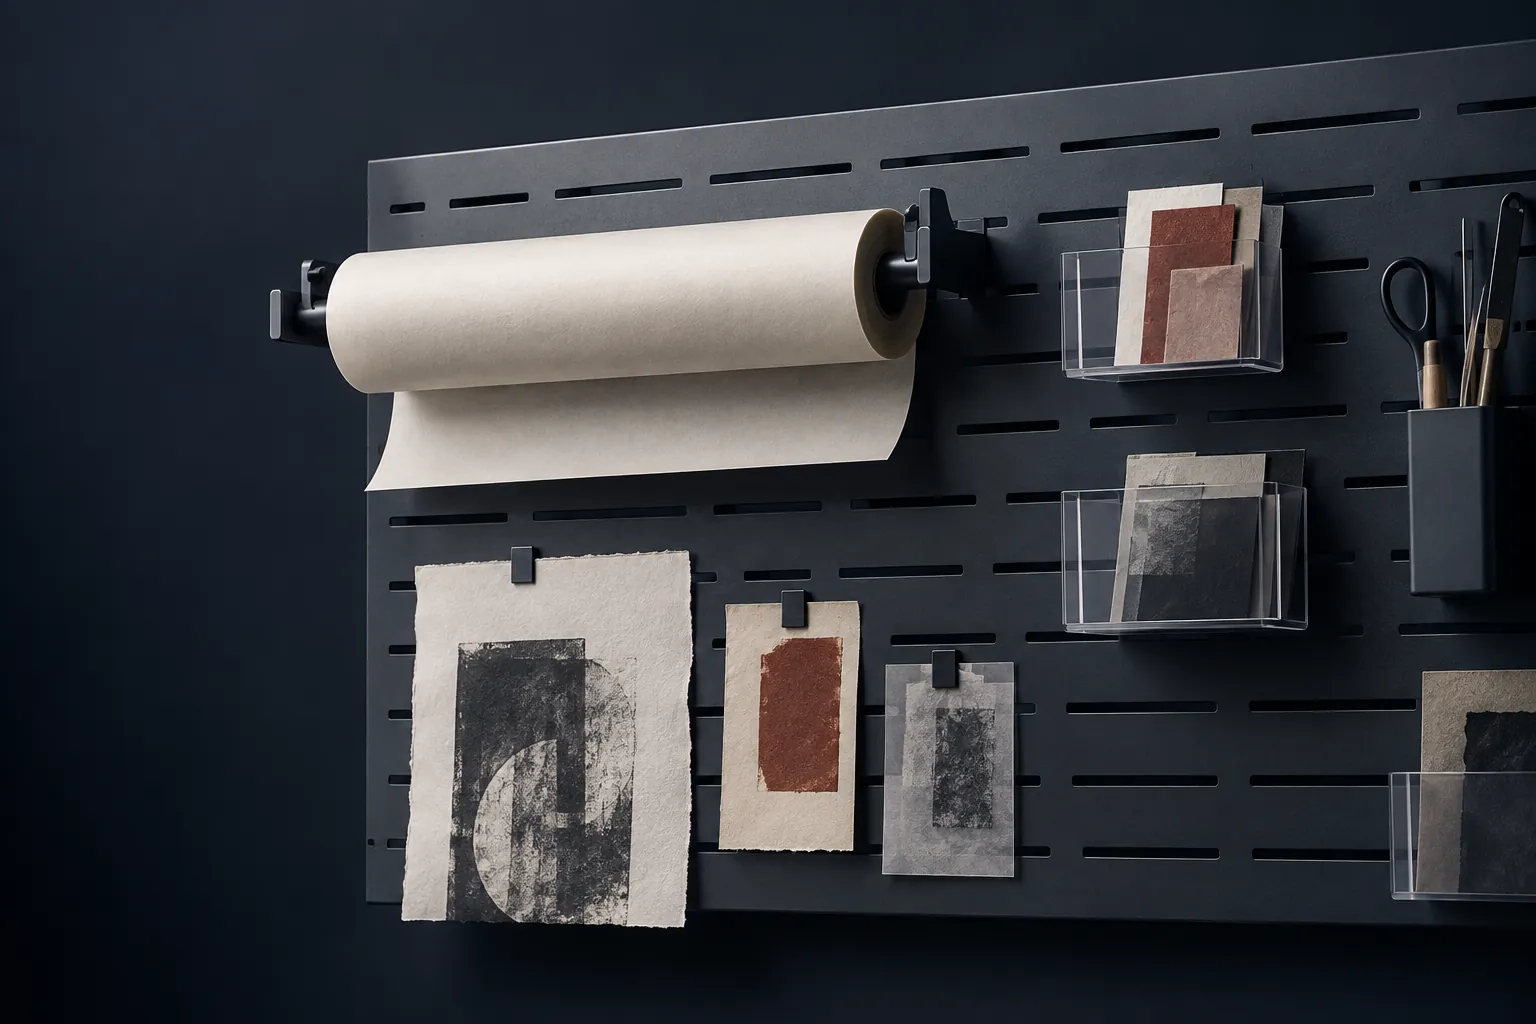
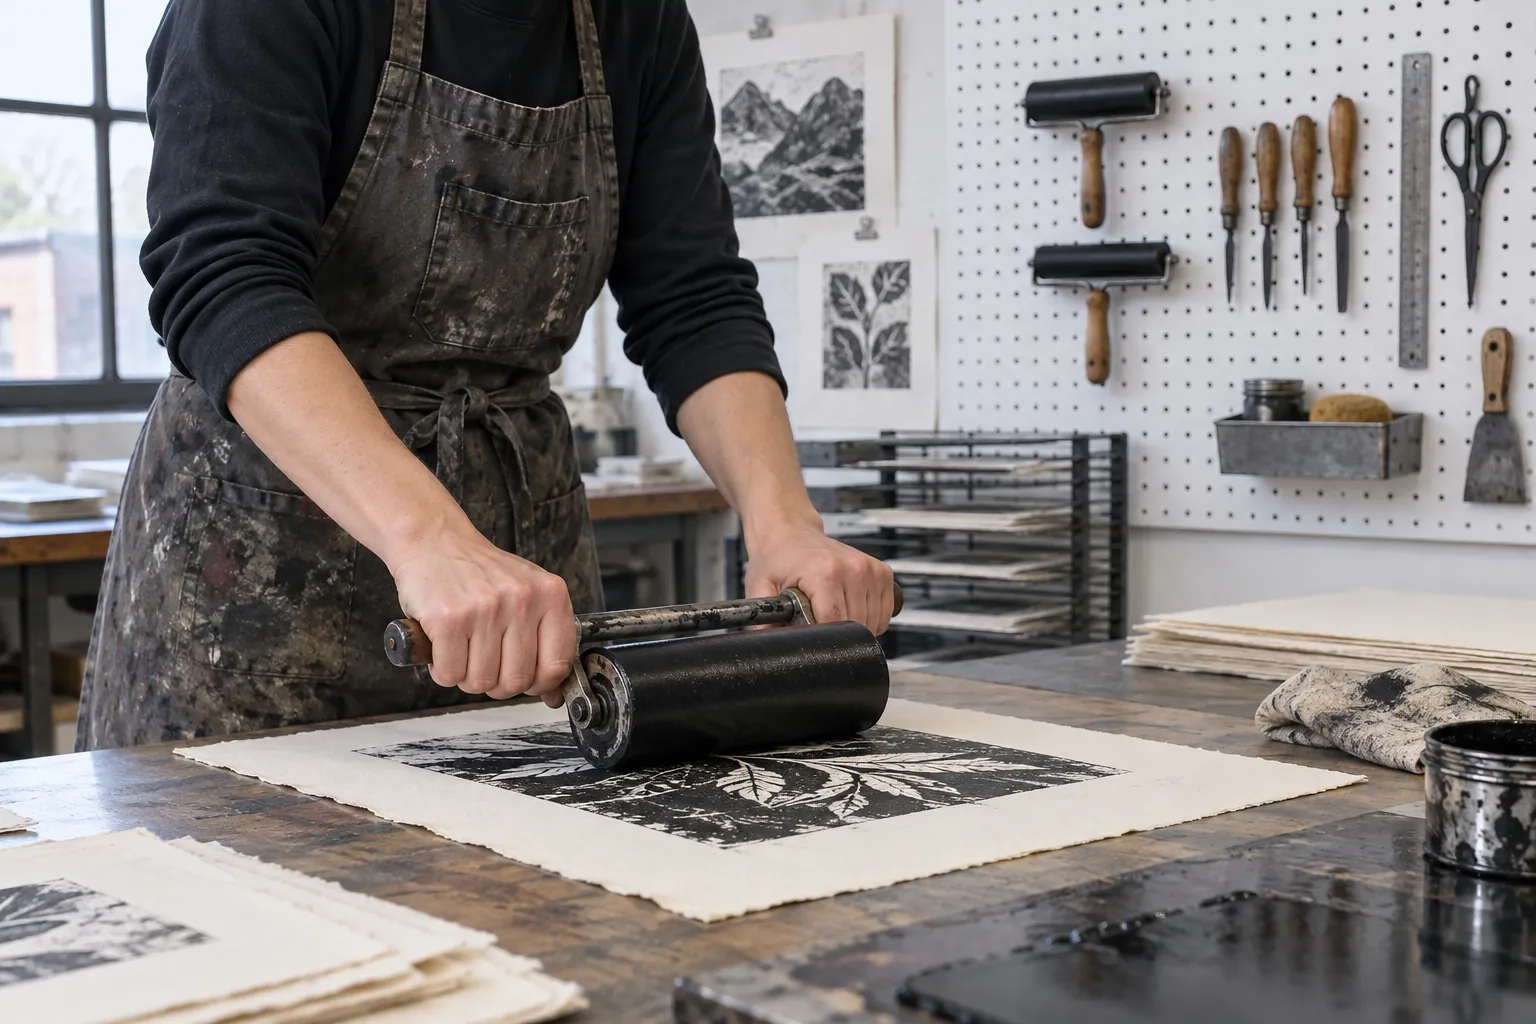
Select a board to see an illustrative use scene. Shown forms and accessories are concepts; product details are confirmed for each inquiry.
Illustrative board form and use context.
Illustrative board form and use context.
Illustrative board form and use context.
Build from the space
This page is a place to begin a conversation about the room, the wall and the objects that need a more useful place. Product directions and a final arrangement are discussed for the project rather than assumed here.
Explore product directionsA clearer studio workflow starts with the right questions.
Tell us about the room, the objects and the routine you are planning for.
Discuss this space